
If you don’t want to read it, you can watch this [video_lightbox_youtube video_id=”z3p7E8GTmmw&rel=0″ width=”640″ height=”480″ anchor=”Video”]
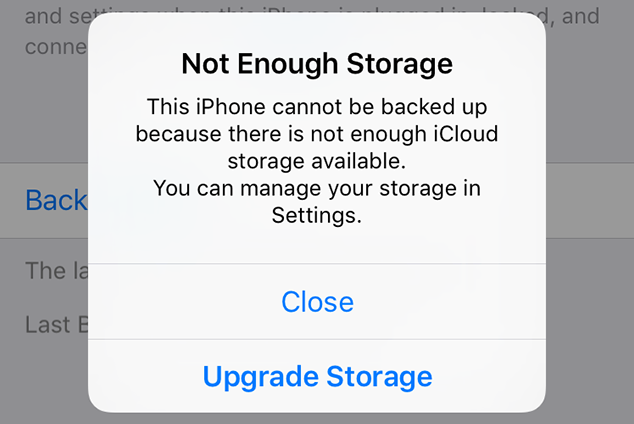
 This post is inspired by several of my clients that have iPhones that are getting this prompt about ICloud running out of storage when automatically attempting to back up their photos. They constantly ask me what can they do to get rid of this prompt and still have the ability to backup all of their photos without paying a boatload of cash to Apple.
I usually tell them that either they would have to pay Apple what they want to expand your ICloud storage to continue backing up, or you would have to start backing up pictures to another cloud service. This article will show you how to do the later. You could use the Google Photos app to back up photos to their cloud service and not have to worry about storage limitations.

 Now to get started with making this happen is to first make sure that your iPhone is on the home screen by pressing the home button on the device. Then you would find and open the settings app by single tapping on it. Then swipe up until you see the “Photos” option, then single tap on that. In this menu, you have to make sure that both “ICloud Photo Library” and “ICloud Photo Sharing” and “My Photo Stream” are all turned off.

 Then return to the home screen by again pressing the home button on your device. Then single tap the App Store icon and then single tap the search button on the bottom right side of the screen if you are on an iPhone, if you are on an iPad, it would be on the upper right side of the screen. Type “Google Photos” into the search box, then single tap the blue search button to continue.
 Locate and single tap the “Get” button next to the Google Photos app in the search results to start downloading and installing the app to your device. Then single tap the install button. You may or may have to enter your Apple account email and address into your device to continue.

 After the program has installed on your device, single tap the open button to launch the program. The program will then open and display a series of prompts asking to set permissions for the program. The first permission prompt will be for allowing google photos to access your videos and photos. single tap the “Ok” button to continue. Then another prompt will come up asking to send notifications to you. I would suggest tapping “Don’t Allow” at this prompt. Then single tap the “Leave Off” option at the next prompt where they ask you to “Leave Notifications Off”.

 Next, you will be taken to the backup and sync screen. I suggest that you leave the current settings as they are and single tap the blue “Sign In To Back Up” button. Then a prompt will come up telling you that Google Photos wants to use Google.com to sign in. You have to single tap the “Continue” button to proceed.
- As a side note – you will need a Gmail or Google account already setup to proceed. if you already have a Gmail or Google account setup, you can skip this section of this article by then entering that accounts email and password to proceed. If you don’t have a Gmail or Google account, you will have to single tap the “More Options” link at the bottom left side of the screen, then single tap the “Create Account” button to proceed.
 After signing into your Google account, photos that are on your device will automatically start backing up on their own. And that is how you do it. I hope that this article has been helpful to you and if you want to keep up with any future tips or articles that we release, feel free to join our email newsletter so that you will not miss a thing.